Adorable Owl Crochet Pattern
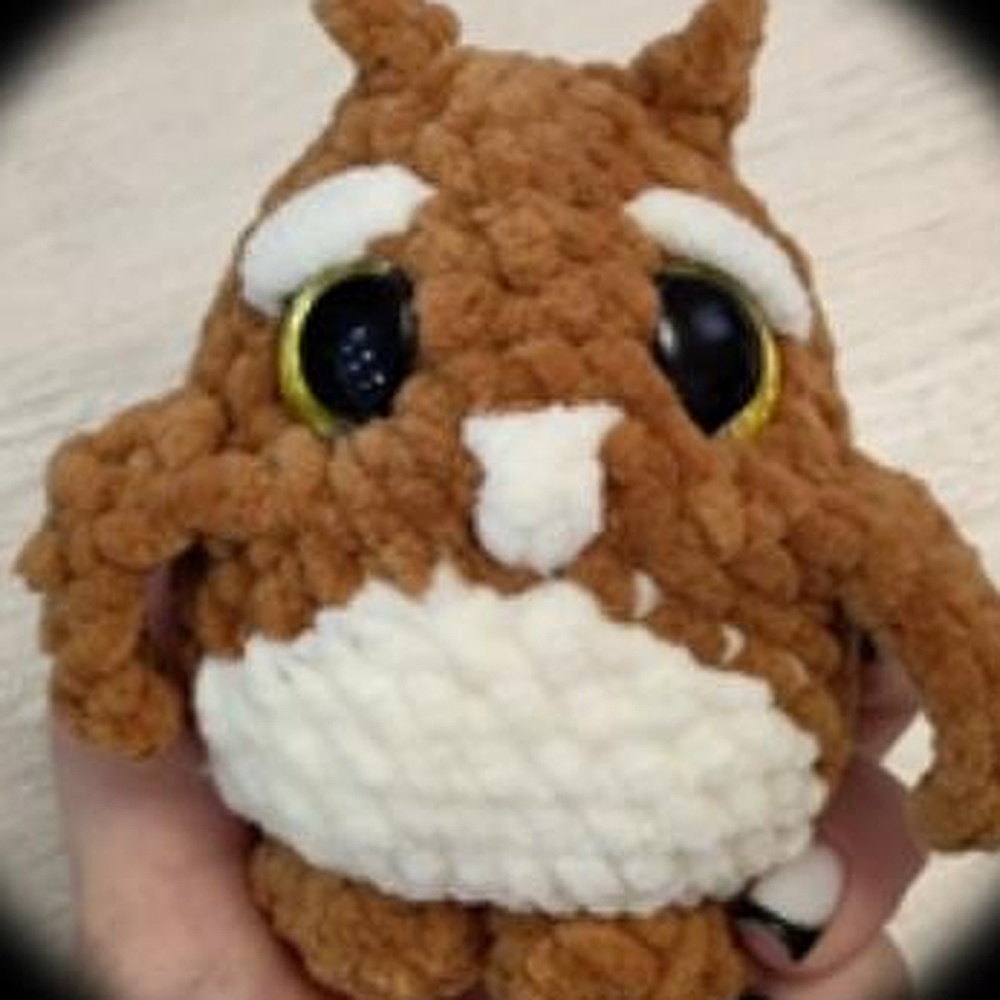
Crocheting a charming owl is a delightful project that combines creativity and skill. This pattern is perfect for those with intermediate crochet experience looking to create a cute 9 cm plush toy. With the right materials and a little patience, you can craft your very own adorable owl that makes a wonderful gift or a lovely addition to your home decor.
Materials Needed
Plush yarn (Wolans Bunny Baby 100g/120m or similar)
– Approximately 18g of main color – 5g of white/cream for the belly – A small amount for eyelids and beak
Crochet hook size 4
Safety eyes (16-18mm, colored)
Stuffing (hollowfiber, synthetic fluff, or similar)
Tapestry needle for shaping
Strong thread for shaping
Abbreviations Used

ВП – chain stitch
ЗПП – back loop
КА – magic ring
МЦ – color change
ППП – front loop
ПР – increase
СБН – single crochet
ССН – double crochet
УБ – decrease
– repeat (e.g., “6” means repeat 6 times)
This pattern uses USA crochet terminology.
Pattern Instructions
Legs
1. Rnd 1: 6 СБН in КА 2. Rnd 2: (1 СБН, ПР)*3 (9) 3. Rnd 3: 7 СБН, УБ (8) – Fold the pieces in half and crochet 4 СБН through both sides. Cut the yarn for the first leg, and for the second leg, crochet 2 ВП and join to the first. We will now crochet the body. – Place a marker in the first stitch; this will be the back.
Body
1. Rnd 1: Crochet in front loops around. 4 СБН on one leg, turn, then crochet 4 СБН on the same leg, 2 ПР in the chain, 4 СБН on the second leg, turn, 4 СБН on the leg, 2 СБН in the chain (22)
Continue Body
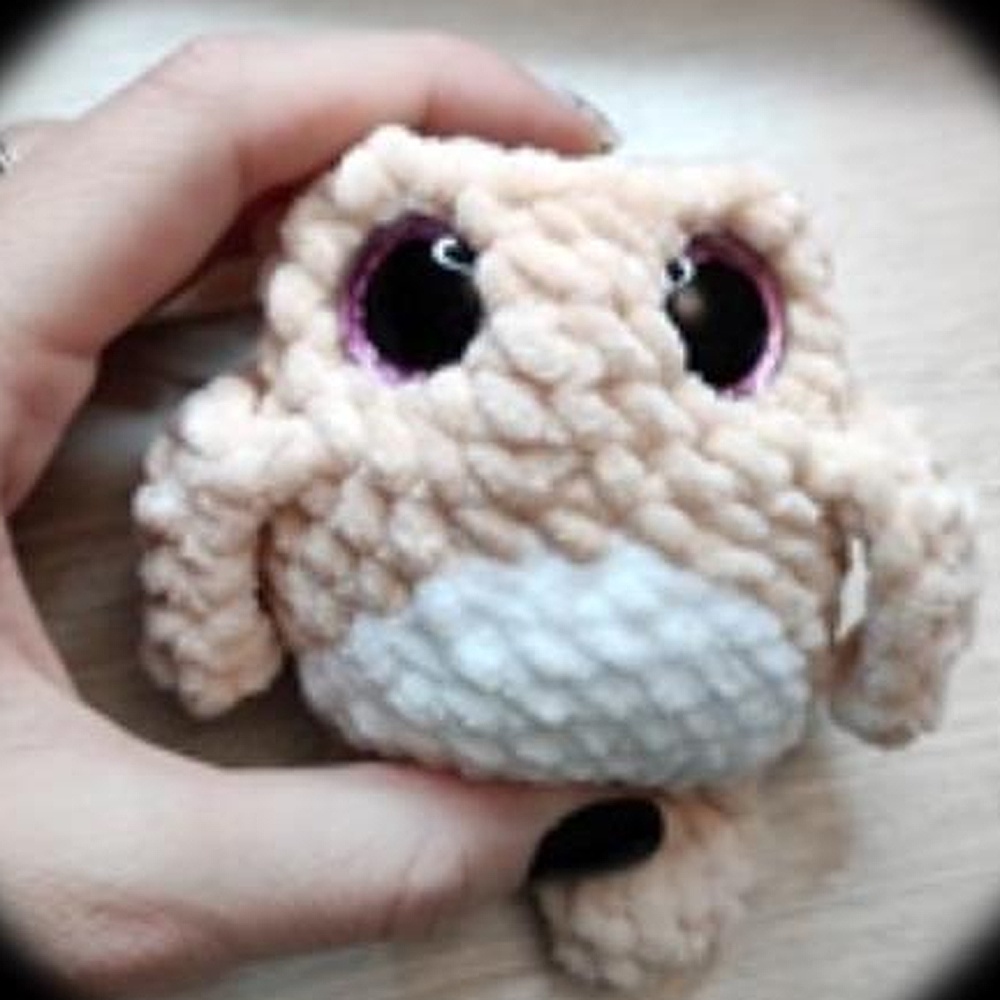
2. Rnd 2: 4 СБН, МЦ, 5 СБН, 2 ПР, 5 СБН, МЦ, 6 СБН (24) 3. Rnd 3: 3 СБН, ПР, 1 СБН, МЦ, (3 СБН, ПР)*2, 3 СБН, УБ, МЦ, ПР, 3 СБН, ПР, 1 СБН (28) 4. Rnd 4: 7 СБН, МЦ, 11 СБН, УБ, МЦ, ПР, 7 СБН (28) 5. Rnd 5: 8 СБН, МЦ, 9 СБН, УБ, МЦ, ПР, 8 СБН (28) 6. Rnd 6: 9 СБН, МЦ, 7 СБН, УБ, МЦ, ПР, 9 СБН (28) 7. Rnd 7: 10 СБН, МЦ, 5 СБН, УБ, МЦ, ПР, 10 СБН (28) 8. Rnd 8: 11 СБН, МЦ, УБ, 1 СБН, УБ, МЦ, 12 СБН (26) – Cut and secure the white yarn.
Wings
9. Rnd 9: In this round, we will crochet the wings. They should be symmetrical. If necessary, make offset stitches. – 7 СБН, in ППП 1 СБН, 7 ВП, in the chain from the third stitch from the hook 5 ССН, in ППП 1 СБН, in both walls 3 СБН, in ЗПП 2 СБН, in both walls 3 СБН, in ППП 1 СБН, 7 ВП, in the chain from the third stitch from the hook 5 ССН, in ППП 1 СБН, in both walls 7 СБН (26)
Continue Body
10. Rnd 10: 7 СБН, in ЗПП of row 8 2 СБН, in both walls 4 СБН, ПР, 3 СБН, in ЗПП of row 8 2 СБН, in both walls 7 СБН (27) 11. Rnd 11-12: 27 СБН (2 rounds) – Gradually stuff the body. 12. Rnd 13: (2 СБН, УБ)*6, 1 СБН, УБ (20) 13. Rnd 14: (2 СБН, УБ)*5 (15) – Insert the eyes between rows 12 and 13, 5 stitches apart.
Ears
14. Rnd 15: In this round, we will crochet the ears, they should be symmetrical. If necessary, make offset stitches. – 1 СБН, УБ, 1 СБН, (1 СБН, 3 ВП, from the second stitch from the hook 1 СБН, 1 СБН in the base) – in one stitch, (УБ, 1 СБН)*2, УБ, (1 СБН, 3 ВП, from the second stitch from the hook 1 СБН, 1 СБН in the base) – in one stitch, 1 СБН (11) 15. Rnd 16: In this round, skip the ears, i.e., (3 ВП, 1 СБН, 1 СБН), do not crochet on them. 5 УБ, 1 СБН (6) – Secure the yarn, cut, and pull the hole closed.
Finishing Touches
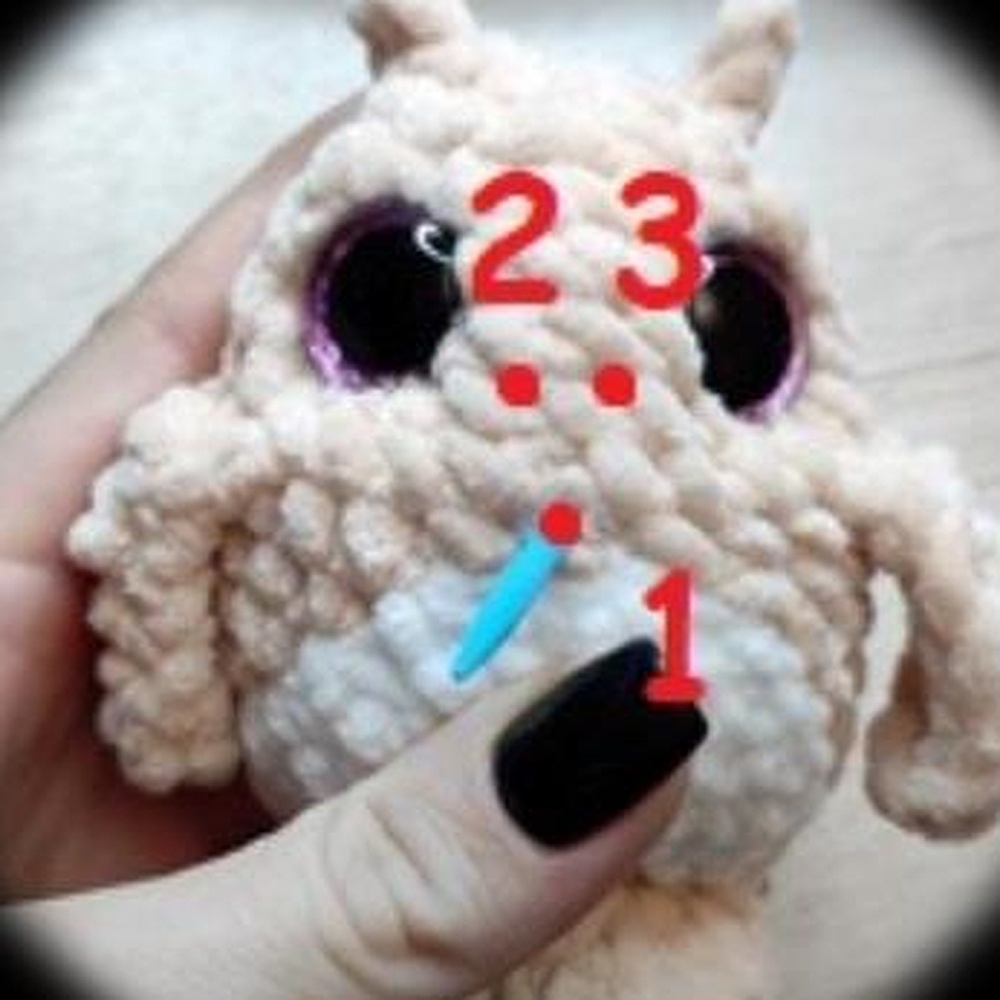
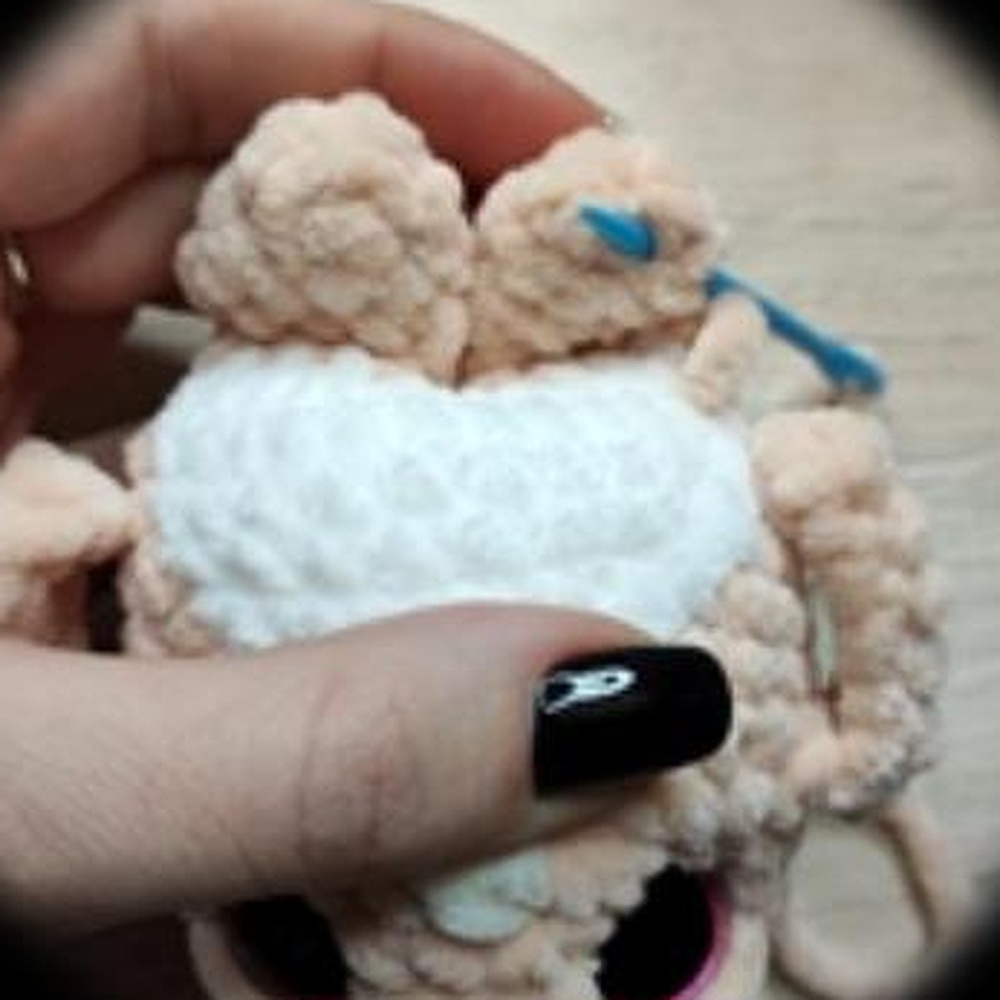
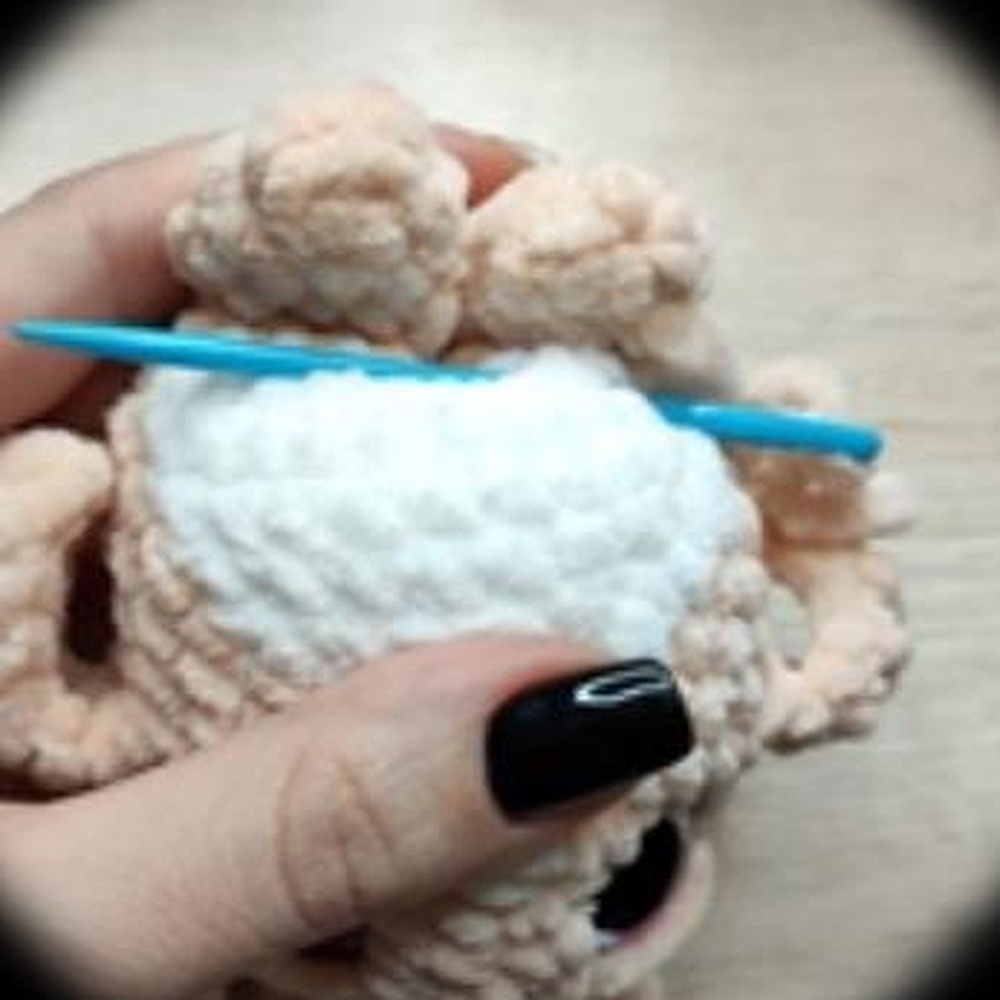
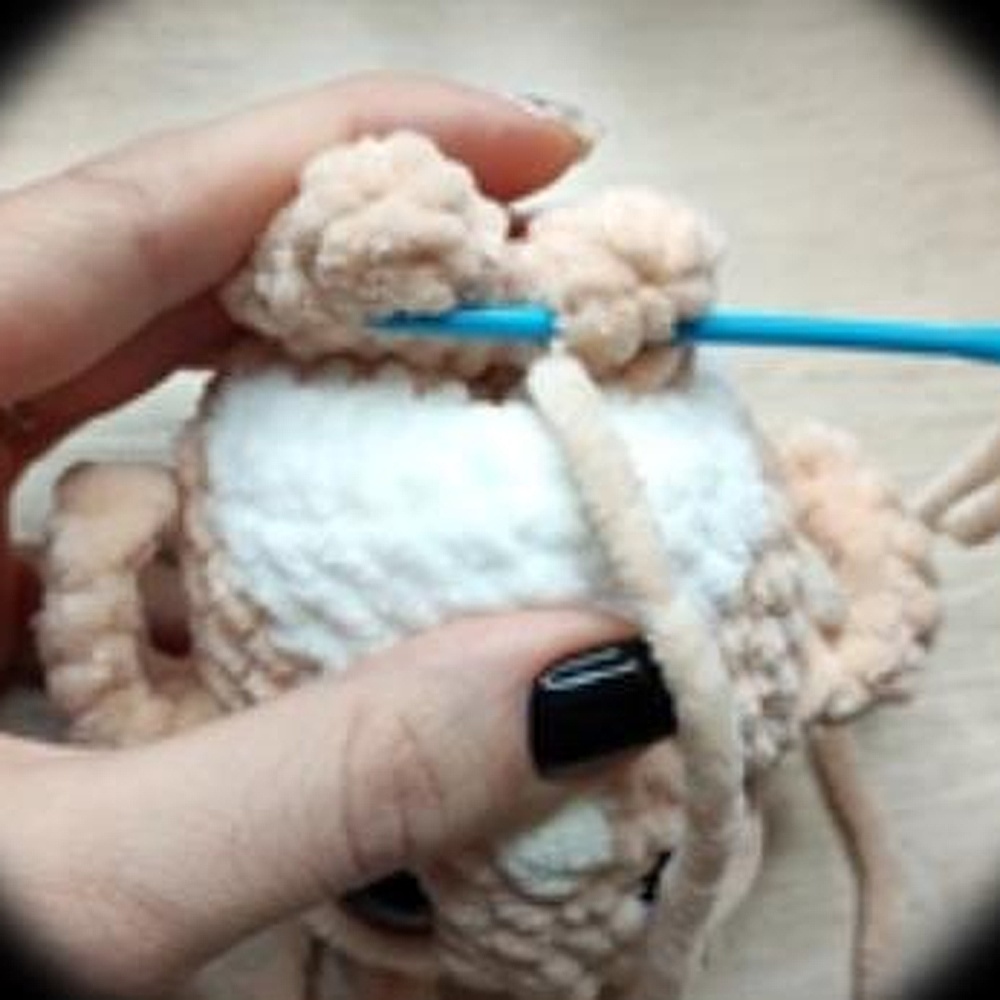
Shaping: Insert the needle at the color change (between rows 1 and 2) at point 1, pull out at the left eye on the right (point 2), insert at the left eye on the left (point 3), pull out at point 4 (between point 1 and 4 – 1 СБН). Tighten and tie a knot. Next, insert the needle at point 1, then pull out on the left of the right eye (point 5), insert on the right of the right eye (point 6), pull out at point 1, tighten and tie a knot.
Beak
Embroidery: Insert the needle at point 1, pull out at point 2, repeat two more times. Then from point 1 to point 3, repeat twice. From point 3, pull the needle to point 2, pass the thread under the stitches and return to point 2, pull out at point 1. Tie a knot and hide the threads.
Frequently Asked Questions
“`html
What skill level is required for this pattern?
This pattern is suitable for intermediate crocheters who are familiar with basic stitches and techniques.
Can I use different yarn for this project?
Yes, you can use any plush yarn you prefer, but keep in mind that the size of the finished owl may vary depending on the yarn thickness and hook size.
How long does it take to complete this owl?
The time to complete this project can vary, but on average, it may take a few hours to a day, depending on your crochet speed.
Are there any tips for stuffing the owl?
When stuffing, add small amounts of filling gradually to ensure even distribution and to avoid lumps. Make sure to shape the body as you go.
“`
Congratulations on creating your adorable owl! This charming plush toy is not only a fun project but also a delightful addition to any collection. Share your creation in the comments below!
Finishing Touches for Your Crochet Project
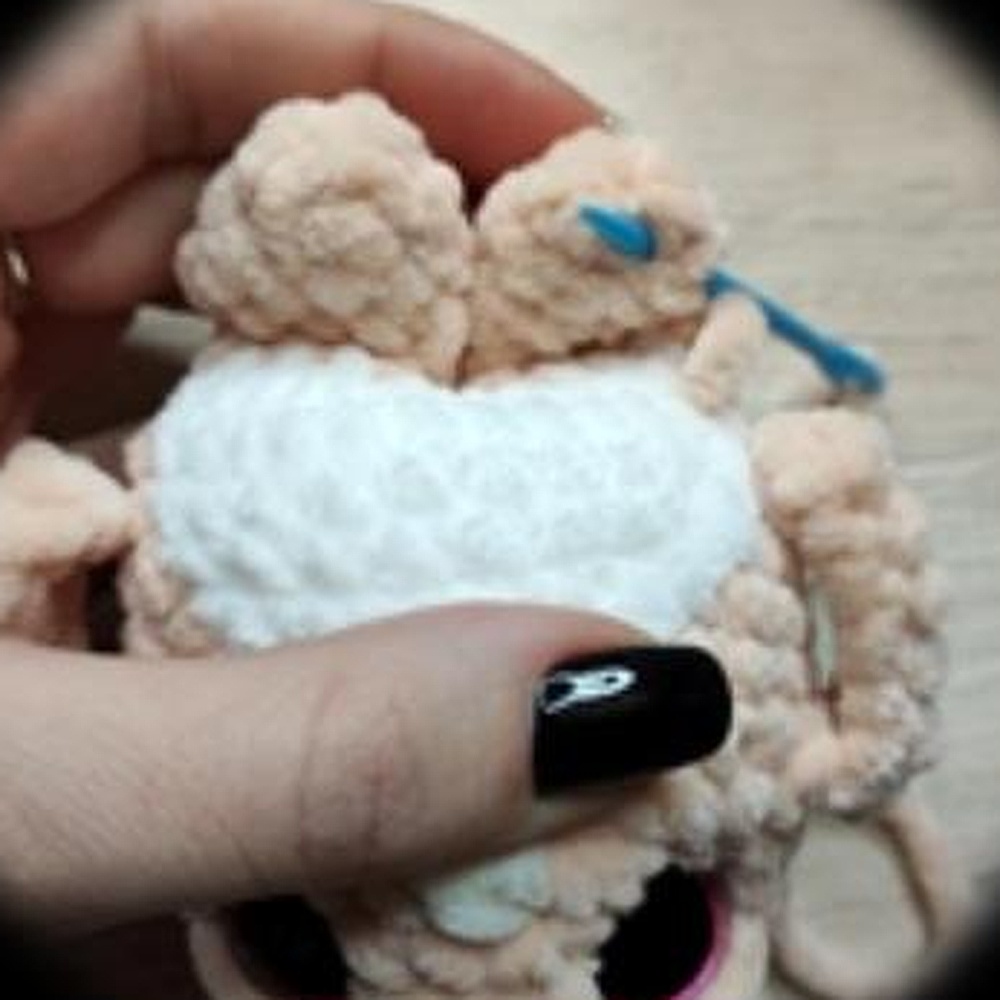
Crocheting is a delightful craft that brings joy and creativity to many. Once you’ve completed the main body of your project, adding the finishing touches is essential to make it truly special. This guide will walk you through the final steps of embroidering the eyelids and attaching the legs, ensuring your creation is polished and ready to shine.
Materials Needed
Embroidery thread
Needle
Scissors
Pattern Instructions
Embroidering the Eyelids
Use two stitches to embroider the eyelids.
Attaching the Legs
Sew each leg onto the body using two stitches.
Thank you for crocheting along with me! I would love to see your finished works in the album.
Frequently Asked Questions
“`html
What skill level is required for this project?
This project is suitable for intermediate crocheters who are comfortable with basic stitches and assembling pieces.
Can I use different yarn for this pattern?
Yes, you can use any yarn that matches the gauge required for your project, but be mindful of the final size and texture.
How long will it take to complete this project?
The time to complete this project can vary, but you can expect to spend a few hours to a couple of days, depending on your skill level and the time you dedicate.
Can I sell items made from this pattern?
Yes, you can sell items made from this pattern, but please credit the original designer if possible.
“`
Congratulations on creating your crochet project! The finishing touches make it uniquely yours and ready for display or gifting. Share your creation in the comments below!