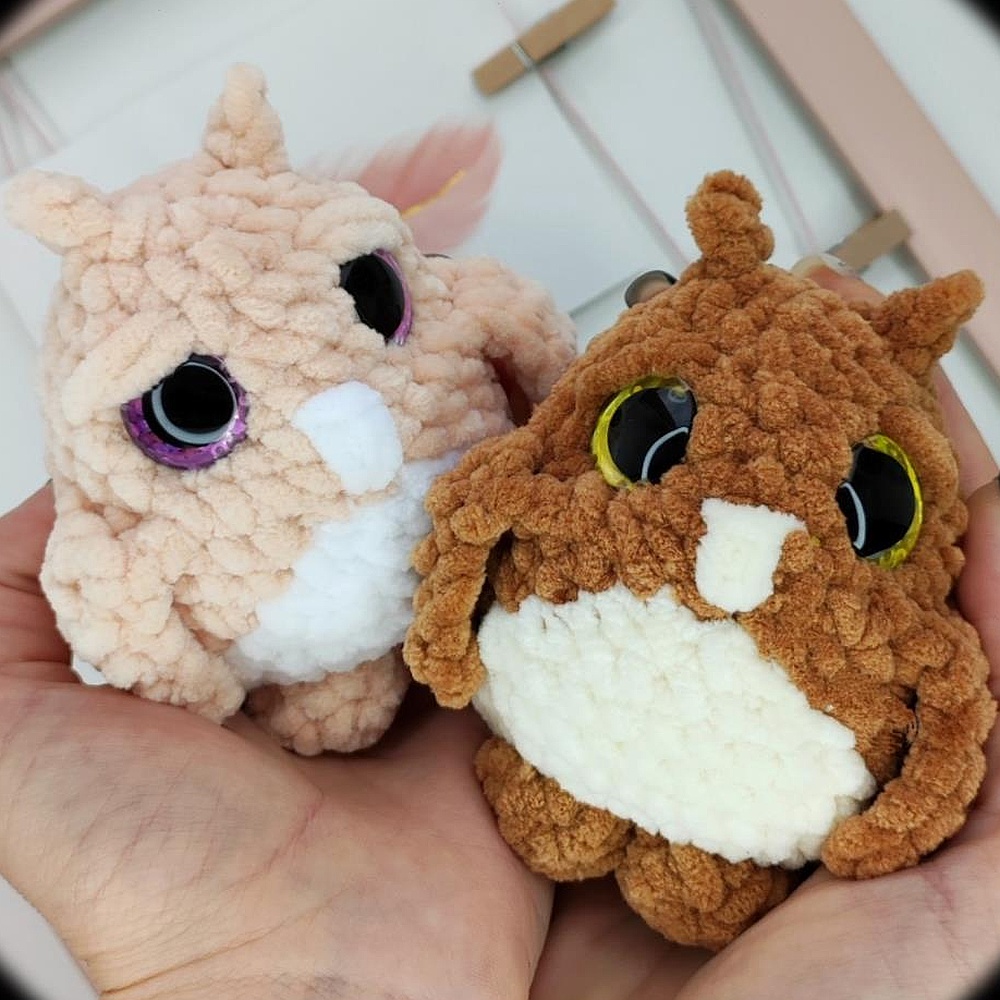
Crochet Your Own Adorable Owl
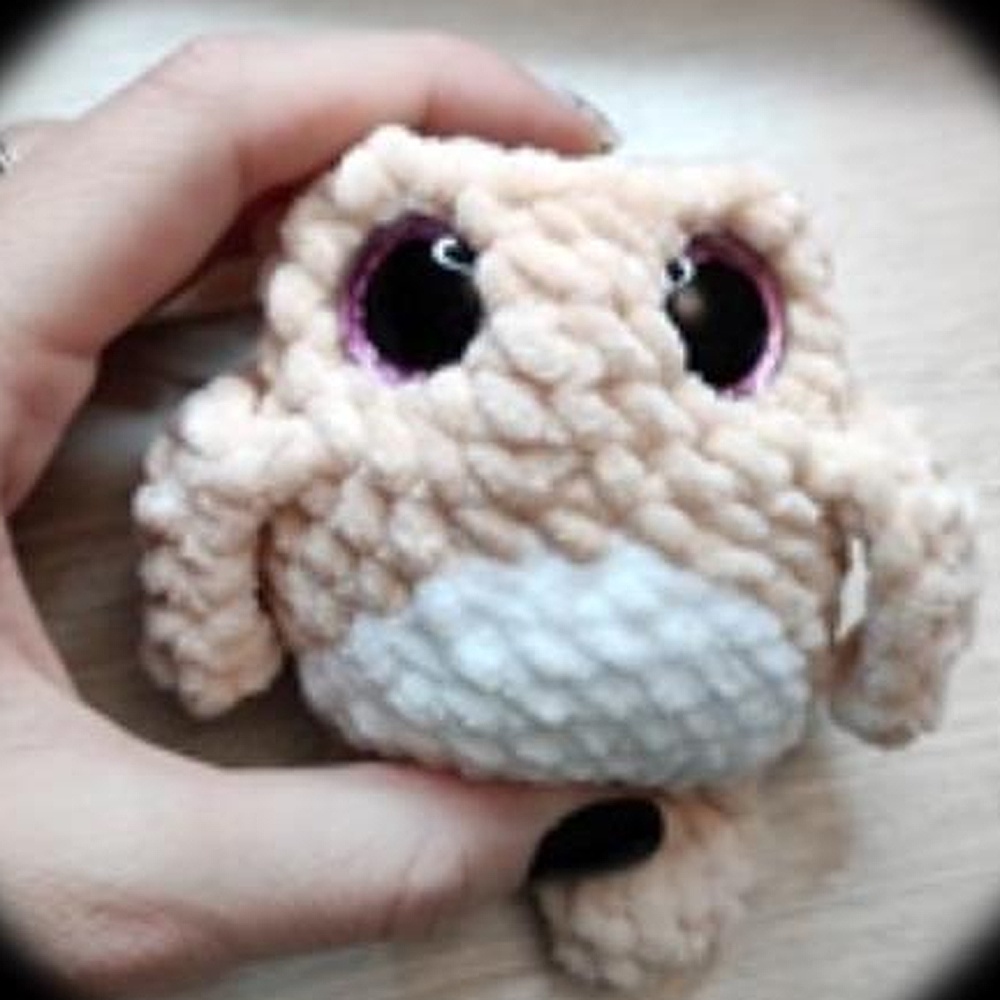
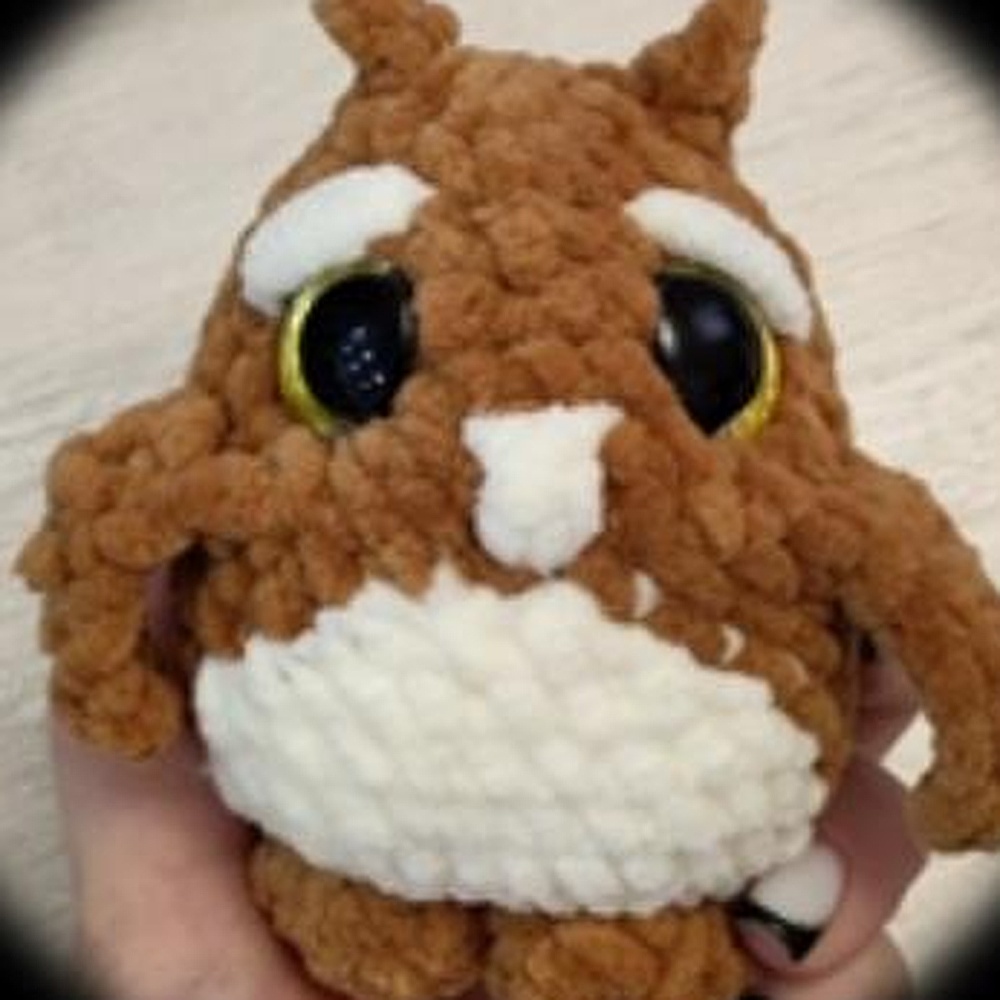
Crocheting your own plush owl is a delightful project that combines creativity with craftsmanship. This pattern, designed for those with intermediate skills, results in a charming 9 cm tall owl. The final size may vary based on your yarn tension, hook size, and chosen materials.
Materials Needed

Plush yarn Wolans Bunny Baby 100g/120m (or a similar alternative)
– Approximately 18g of the main color – 5g of white/cream for the belly – Small amounts for eyelids and beak
Hook size: 4mm
Safety eyes, 16-18mm in color
Stuffing: polyester fiberfill or similar
Needle with a large eye for shaping
Strong thread for shaping
Abbreviations Used
ch: chain
bl: back loop
mc: magic circle
sc: single crochet
dc: double crochet
inc: increase
dec: decrease
fp: front loop
Repeat instructions within asterisks as indicated.
This pattern uses USA crochet terminology.
Pattern Instructions
Legs
Using the main color:
Rnd 1: 6 sc in mc
Rnd 2: (1 sc, inc) * 3 (9)
Rnd 3: 7 sc, dec (8)
Fold the pieces in half and crochet 4 sc through both sides. Cut the yarn on the first leg, but continue on the second leg with 2 ch, joining to the first leg. We’ll now begin the body.
Body
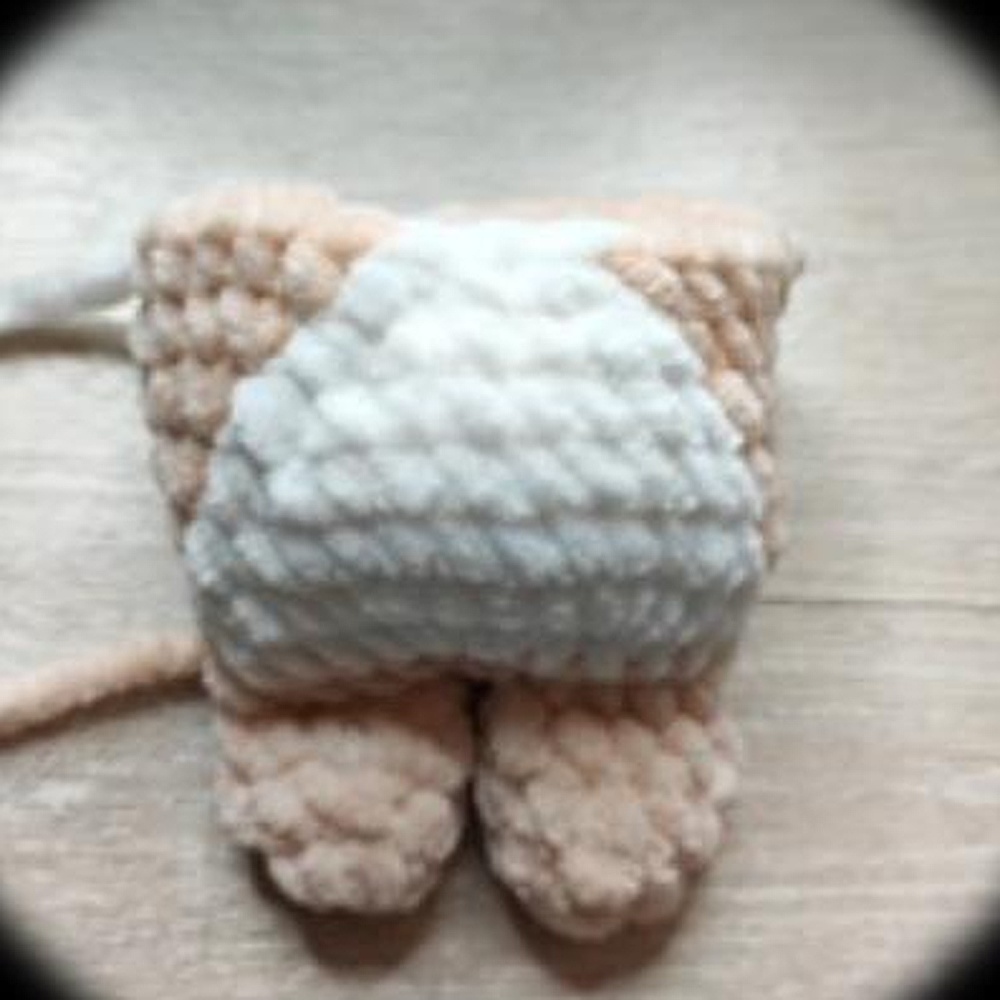
Rnd 1: Crochet in fp around. 4 sc on one leg, turn, 4 sc on the same leg, 2 inc over ch, 4 sc on the second leg, turn, 4 sc on the leg, 2 sc over ch (22)
Rnd 2: 4 sc, change color, 5 sc, 2 inc, 5 sc, change color, 6 sc (24)
Rnd 3: 3 sc, inc, 1 sc, change color, (3 sc, inc) * 2, 3 sc, dec, change color, inc, 3 sc, inc, 1 sc (28)
Rnd 4: 7 sc, change color, 11 sc, dec, change color, inc, 7 sc (28)
Rnd 5: 8 sc, change color, 9 sc, dec, change color, inc, 8 sc (28)
Rnd 6: 9 sc, change color, 7 sc, dec, change color, inc, 9 sc (28)
Rnd 7: 10 sc, change color, 5 sc, dec, change color, inc, 10 sc (28)
Rnd 8: 11 sc, change color, dec, 1 sc, dec, change color, 12 sc (26)
Cut and secure the white yarn.
Wings
Rnd 9: 7 sc, in fp 1 sc, 7 ch, along the chains from the third stitch from the hook 5 dc, in fp 1 sc, through both loops 3 sc, in bl 2 sc, through both loops 3 sc, in fp 1 sc, 7 ch, along the chains from the third stitch from the hook 5 dc, in fp 1 sc, through both loops 7 sc (26)
Rnd 10: 7 sc, in bl of 8th round 2 sc, through both loops 4 sc, inc, 3 sc, in bl of 8th round 2 sc, through both loops 7 sc (27)
Rnd 11-12: 27 sc (2 rounds)
Gradually stuff the body.
Rnd 13: (2 sc, dec) * 6, 1 sc, dec (20)
Rnd 14: (2 sc, dec) * 5 (15)
Insert eyes between rounds 12 and 13, spaced 5 stitches apart.
Ears
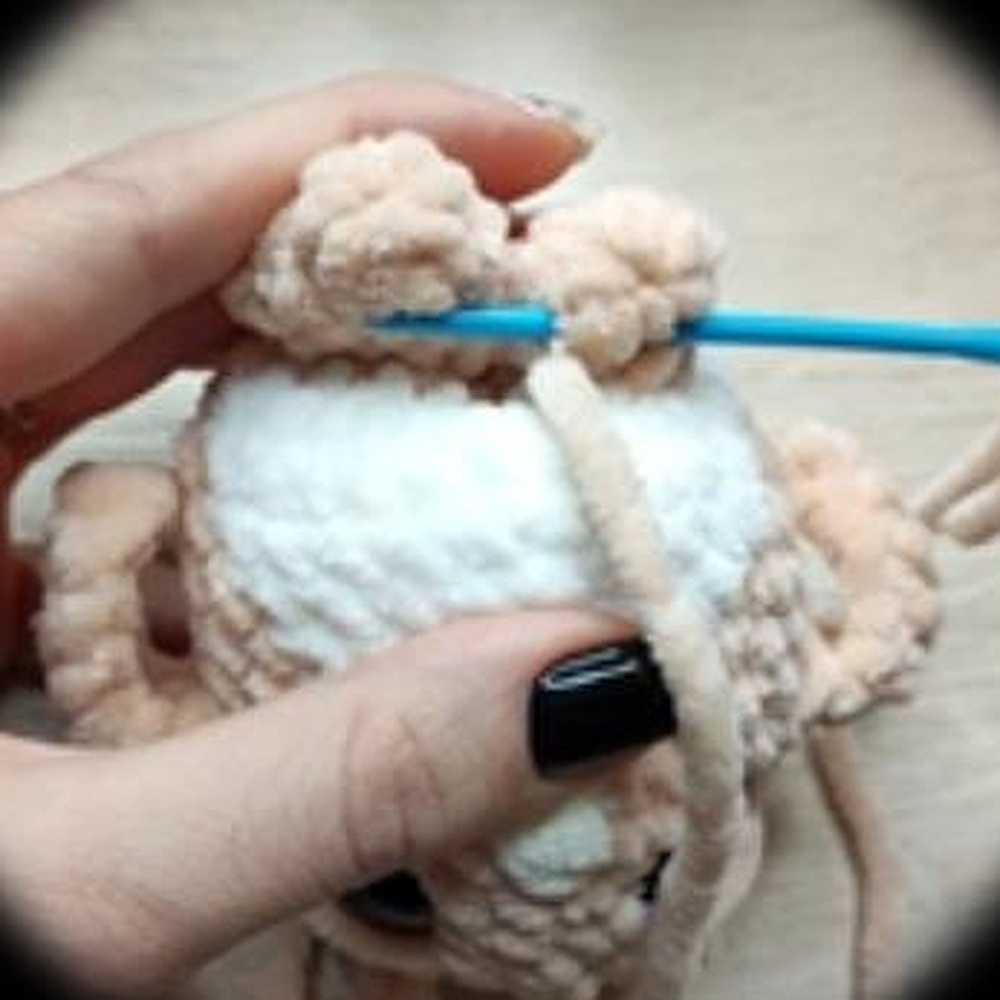
Rnd 15: 1 sc, dec, 1 sc, (1 sc, 3 ch, from the second chain from the hook 1 sc, 1 sc in the base) in one stitch, (dec, 1 sc) * 2, dec, (1 sc, 3 ch, from the second chain from the hook 1 sc, 1 sc in the base) in one stitch, 1 sc (11)
Rnd 16: Skip ears, i.e., (3 ch, 1 sc, 1 sc), do not crochet over them. 5 dec, 1 sc (6)
Secure and cut the yarn, close the opening.
Assembly
Shaping
Insert the needle at the color change point (between rounds 1 and 2) at point 1, exit at the right of the left eye (point 2), insert at the left of the left eye (point 3), exit at point 4 (between points 1 and 4 – 1 sc). Tighten and knot. Then insert the needle at point 1, exit at the left of the right eye (point 5), insert at the right of the right eye (point 6), exit at point 1, tighten and knot.
Beak
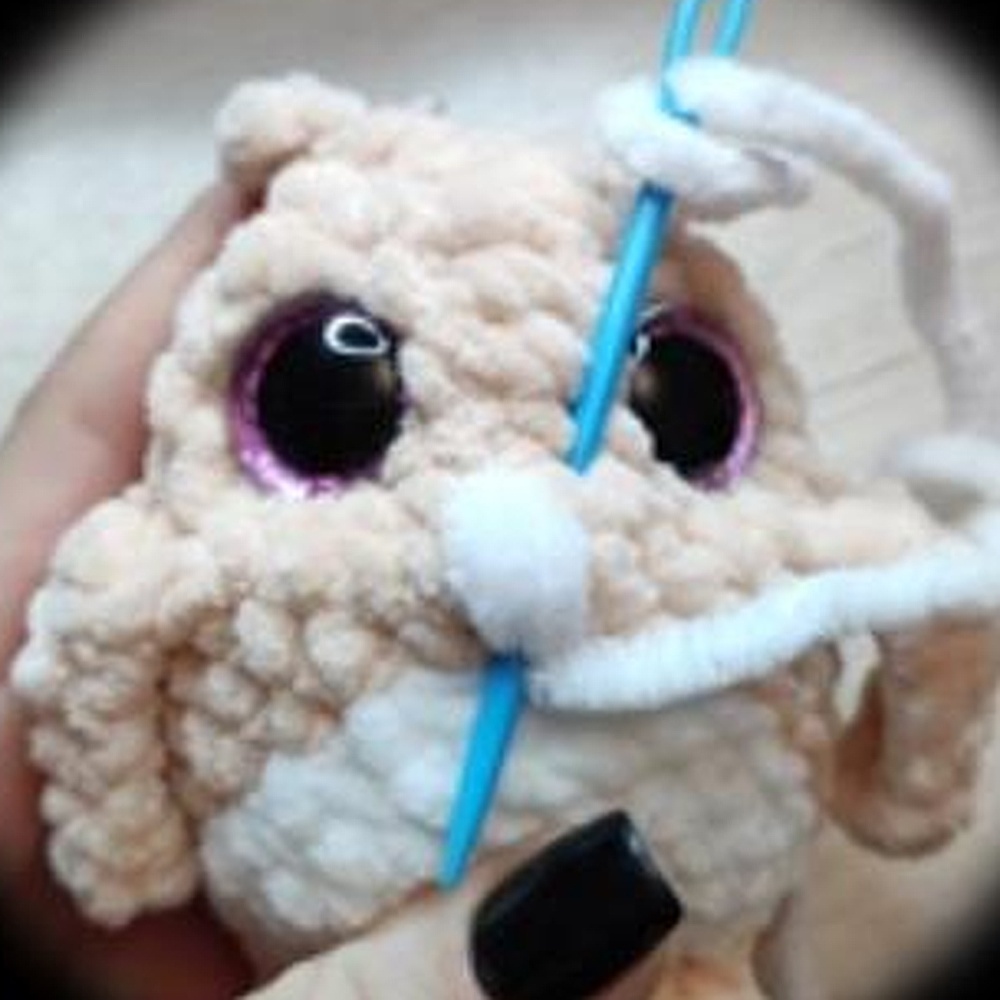
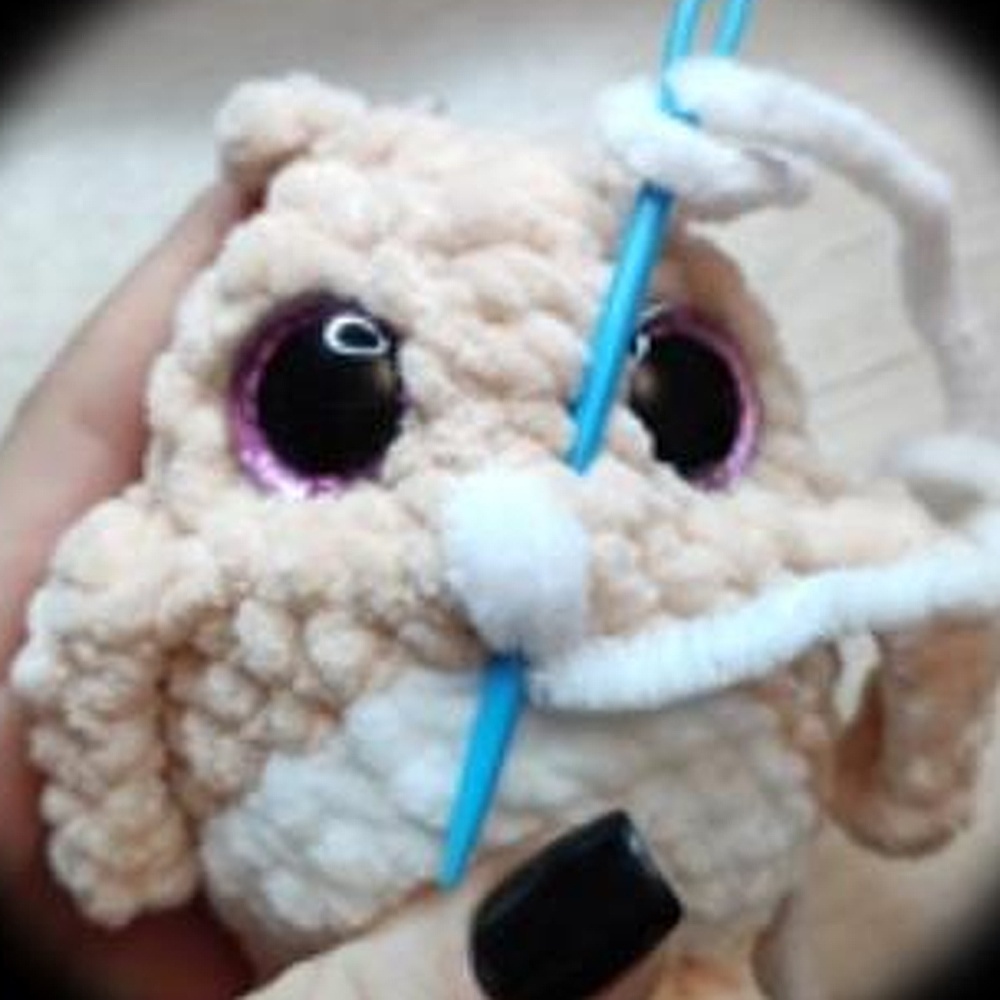
Insert the needle at point 1, exit at point 2, repeat twice. Then from point 1 to point 3, repeat twice. From point 3, exit at point 2, pass the yarn under the stitches and return to point 2, exit at point 1. Knot and hide the threads.
Frequently Asked Questions
What skill level is required for this owl pattern?
This pattern is designed for intermediate crocheters. It involves techniques like shaping and color changes, which may be challenging for beginners.
Can I use different yarn types?
Yes, you can substitute with similar weight yarns. Just keep in mind that the final size of your owl may vary depending on the yarn and hook size used.
How long does it take to complete this project?
The time to complete this project varies based on your crochet speed and experience. On average, it might take a few hours to a couple of days.
Can I sell the finished owl toys?
You may sell the finished items, but please give credit to the designer when sharing your creations online or in person.
Conclusion
Congratulations on creating your adorable owl! This plush companion is perfect for gifting or adding a handmade touch to your decor. Share your creation in the comments below!
Adorable Crochet Doll Pattern
Creating your own crochet doll is a delightful and rewarding experience. This project is perfect for those who enjoy crafting charming toys that can be cherished for years. Whether you’re a seasoned crocheter or just starting, this pattern offers a fun challenge that will enhance your skills and creativity.
Materials Needed
To bring your crochet doll to life, gather the following materials:
Yarn in desired colors
Crochet hook suitable for your yarn
Stuffing material
Yarn needle for sewing
Scissors
Stitch marker
Abbreviations Used
Familiarize yourself with these abbreviations used in the pattern:
ch: chain
sc: single crochet
st: stitch
rnd: round
sl st: slip stitch
This pattern uses USA crochet terminology.
Pattern Instructions
Head
Rnd 1: [Pattern instructions here]
Rnd 2: [Pattern instructions here]
Body
Rnd 1: [Pattern instructions here]
Rnd 2: [Pattern instructions here]
Arms
Rnd 1: [Pattern instructions here]
Rnd 2: [Pattern instructions here]
Legs
Rnd 1: [Pattern instructions here]
Rnd 2: [Pattern instructions here]
Assembly
Embroider the eyelids using two stitches.
Sew each leg with two stitches.
Frequently Asked Questions
What skill level is required for this pattern?
This pattern is suitable for intermediate crocheters who are comfortable with basic stitches and assembly techniques.
Can I use different yarn types?
Yes, you can substitute with different yarn types, but ensure the yarn weight is consistent to maintain the doll’s proportions.
How long does it take to complete this doll?
The time to complete the doll varies, but typically it takes about 6-8 hours, depending on your crochet speed.
Conclusion
Congratulations on creating your adorable crochet doll! This delightful project is perfect for gifting or adding to your collection. Share your finished creation in the comments below!